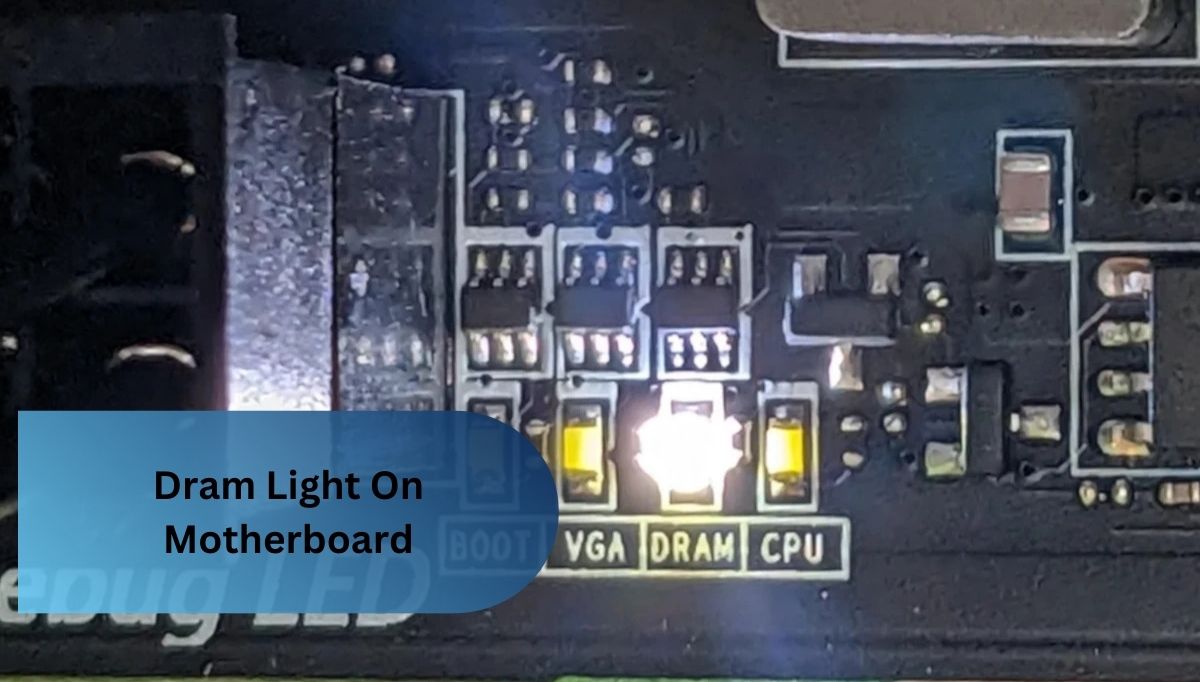
Dram Light On Motherboard – Causes And Fixes!
The DRAM light on motherboard indicates potential memory issues, such as improperly seated or faulty RAM modules, incompatible hardware, or BIOS settings. To resolve this, ensure RAM is correctly installed, check for compatibility, and update BIOS if necessary.
This article will discuss the causes and fixes for the DRAM light on your motherboard. This light can signal memory-related issues such as improperly seated RAM, incompatible modules, or even BIOS misconfigurations. We’ll walk you through identifying these problems and offer steps to resolve them.
Understanding the DRAM Light
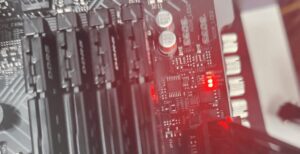
The DRAM light on your motherboard is there to help you figure out if there’s an issue with your computer’s memory (RAM). If it lights up during startup, it usually means something’s wrong—maybe your RAM isn’t seated correctly, incompatible, or even faulty.
It could also point to problems with the memory slots, the power supply, or your BIOS settings. If you see the DRAM light on, it’s a good idea to check your RAM and ensure everything’s set up correctly. This light helps you catch memory problems early so your system runs smoothly.
Common Causes of DRAM Light Activation
The DRAM light on a motherboard is activated when the system encounters issues related to the installed memory modules (RAM). Understanding the common causes of this indicator can assist in diagnosing memory-related problems and ensuring proper system function.
1. Improperly Seated RAM Modules:
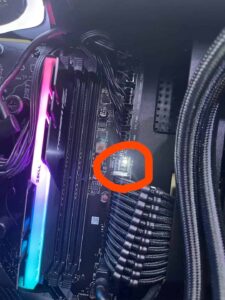
One of the most frequent causes of the DRAM light being activated is improperly seated RAM. If the memory modules are not securely inserted into the motherboard’s memory slots, the system may fail to detect them correctly, triggering the DRAM light.
2. Incompatible or Faulty RAM:
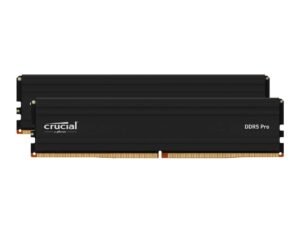
Incompatible or defective RAM can also lead to the illumination of the DRAM light. This may occur when the RAM modules do not meet the motherboard’s specifications or when the memory has a manufacturing defect. Ensuring compatibility between the motherboard and memory is critical to avoid such issues.
3. Power Supply Issues
Insufficient power to the memory modules can cause the DRAM light to activate. A malfunctioning power supply unit (PSU) or issues with power connections to the motherboard can lead to inadequate voltage supplied to the RAM, resulting in system instability.
4. BIOS or Firmware Configuration Errors
Incorrect BIOS or firmware settings can also trigger the DRAM light. If the BIOS does not recognize the RAM configuration or memory settings are misconfigured (such as wrong voltage or frequency), the system may fail to initialize the RAM properly, resulting in the illuminated DRAM light.
5. Faulty Memory Slots
Issues with the motherboard’s memory slots, such as physical damage or poor connections, can activate the DRAM light. If the slots do not make proper contact with the RAM modules, the system may fail to boot, indicating a problem with the memory through the DRAM LED.
6. Overclocking Instability
Overclocking, or pushing the RAM to run at higher speeds than it was designed for, can cause instability that activates the DRAM light. If the memory modules are unstable at overclocked speeds, the system may fail to POST, triggering the DRAM light.
By understanding these common causes, users can better diagnose and resolve memory-related issues, ensuring the stability and functionality of their systems.
Troubleshooting Steps
When the DRAM light on a motherboard is activated, it indicates a potential issue with the system’s memory. To resolve this issue effectively, a systematic approach is required. Below are essential troubleshooting steps to identify and address memory-related problems:
1. Check RAM Compatibility
The first step in troubleshooting is to verify that the installed RAM is compatible with the motherboard. Refer to the motherboard’s manual or manufacturer’s website to confirm the supported RAM specifications, including type, size, speed, and voltage. Incompatible memory can lead to system errors and prevent proper RAM initialisation.
Read Also: Is Ram Compatible With My Motherboard – A Quick Guide What You Need To Know!
2. Reseat the RAM Modules
Improperly seated RAM modules are a common cause of the DRAM light. To address this, power down the system, unplug it from the electrical source, and carefully remove and reinsert the RAM modules. Ensure that each module is securely and evenly seated in its respective memory slot, making proper contact with the motherboard.
3. Test Individual RAM Modules
If reseating the RAM does not resolve the issue, remove all but one module and attempt to boot the system. Testing individual RAM sticks can help identify whether a specific module is faulty. If the system boots with one module but not the others, the defective module should be replaced.
4. Clear the CMOS
Resetting the BIOS settings to their default configuration can resolve issues caused by incorrect memory settings or configuration errors. To clear the CMOS, use the jumper on the motherboard or remove and reinsert the CMOS battery. This action will reset the system settings, potentially eliminating memory-related configuration issues.
5. Inspect Power Connections
Insufficient power to the memory modules can cause instability and trigger the DRAM light. Ensure all power connections, particularly the 24-pin ATX and 8-pin CPU power connectors, are correctly seated. Additionally, check the PSU (Power Supply Unit) to confirm it functions correctly and delivers sufficient power to the system.
6. Update the BIOS
An outdated BIOS version may fail to recognize specific RAM configurations or memory modules. Check the motherboard manufacturer’s website for BIOS updates and instructions on how to update the firmware. An updated BIOS can improve system stability and address compatibility issues with newer RAM.
7. Test with Known Good RAM
If none of the previous steps resolve the issue, try installing a known, compatible, and functional RAM module from another system. This will help determine if the issue lies with the original RAM modules or if there is a deeper problem with the motherboard or other components.
8. Examine Memory Slots for Damage
If the DRAM light persists after performing the above steps, inspect the memory slots on the motherboard for any visible signs of damage, such as bent pins or debris. A damaged memory slot may prevent proper contact with the RAM, causing the system to fail to detect it.
9. Contact Manufacturer Support
If all troubleshooting steps fail to resolve the issue, contacting the motherboard or RAM manufacturer’s customer support is advisable. They can provide additional diagnostic steps or confirm whether the motherboard or RAM is defective and may require replacement.
Following these troubleshooting steps, users can systematically identify and address the underlying causes of DRAM-related issues, ensuring optimal system performance and stability.
Preventive Measures
It is essential to implement adequate preventive measures to minimize the risk of DRAM light activation and ensure the long-term stability and performance of the system’s memory. The following guidelines can help avoid memory-related issues:
1. Regular System Maintenance
Performing routine system maintenance is critical for ensuring optimal performance and preventing memory-related issues. This includes regular checks of memory modules for dust accumulation, physical damage, or signs of wear. Keeping the system clean and free from contaminants can also help avoid damage to the motherboard’s memory slots and connectors.
2. Use Compatible and Quality RAM
Selecting high-quality, compatible RAM is essential for preventing memory-related problems. Always ensure the RAM matches the motherboard specifications, including type, speed, voltage, and capacity. Refer to the motherboard’s official documentation or manufacturer’s website to identify recommended memory configurations and avoid using RAM that does not meet the system’s requirements.
3. Avoid Unsupported Overclocking
Overclocking, which involves running memory at speeds higher than the manufacturer’s specified limits, can introduce instability and increase the likelihood of encountering DRAM light activation. While overclocking can offer performance improvements, it should be done cautiously and only when supported by the motherboard and RAM. Users should ensure that the memory modules are rated for overclocking and use appropriate cooling solutions to prevent overheating.
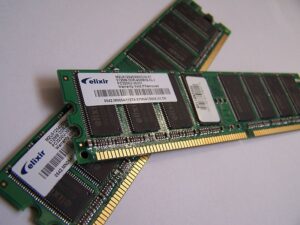
4. Ensure Proper Installation and Seating of RAM
Proper installation and seating of RAM modules are fundamental practices to avoid issues such as the DRAM light turning on. Always ensure RAM modules are securely and evenly seated in their respective slots. Improper installation can result in poor electrical contact, leading to system instability and failure to recognize the RAM.
5. Update BIOS Regularly
Keeping the BIOS current is crucial for ensuring the system can adequately recognize and configure memory modules. BIOS updates often include optimizations for compatibility with newer RAM types and improved memory handling. Users should periodically check for BIOS updates from the motherboard manufacturer and install them as needed to maintain compatibility and enhance system stability.
6. Proper Power Supply
An adequate and stable power supply is essential for the memory and other system components to function adequately. Users should ensure that the power supply unit (PSU) has sufficient wattage to support all system components, including the RAM. Regular checks for loose or damaged power cables can also prevent issues related to power instability, which can trigger the DRAM light.
7. Monitor System Temperatures
Excessive heat can cause instability in memory and other components, leading to potential DRAM issues. Using temperature monitoring software and ensuring that the system is adequately cooled through proper airflow and efficient cooling solutions can help prevent thermal-related memory failures.
Read Also: Is My Ram Compatible With Motherboard – A Compressive Guide!
8. Properly Configure Memory Settings in BIOS
Incorrect memory settings in the BIOS, such as improper voltage or frequency, can lead to system instability and DRAM light activation. It is recommended that memory settings be set according to the manufacturer’s specifications or that the “XMP” (Extreme Memory Profile) setting be used if available. This ensures that the memory runs at the appropriate speeds and voltage levels.
9. Avoid Physical Damage
Preventing physical damage to memory modules and motherboard slots is essential. When installing or removing RAM, users should avoid applying excessive force or dropping the modules, as this can cause internal damage that may not be immediately visible but could lead to memory failure over time.
By adhering to these preventive measures, users can significantly reduce the likelihood of encountering DRAM-related issues, ensuring their systems’ continued reliability and performance. Implementing these best practices promotes a stable computing environment, minimizes the risk of hardware failure, and extends the lifespan of memory components.
FAQ’s
1. Why Is The Dram Light On My Motherboard Illuminated?
The DRAM light on a motherboard is illuminated when the system detects an issue with the installed memory, such as improperly seated RAM, incompatible or faulty modules, or problems with the motherboard’s memory slots or power supply. This serves as an indication for further diagnosis and troubleshooting.
2. How Long Should The Dram Light Remain On?
The DRAM light should remain illuminated only during the initial startup or POST (Power-On Self-Test). If it stays on longer than this, it indicates a persistent issue with the memory that requires troubleshooting to resolve.
3. What Causes Dram Failure?
Several factors, including faulty or incompatible memory modules, improper seating of RAM, motherboard issues, insufficient power supply, or damage from overheating or electrical surges, can cause DRAM failure. These factors can disrupt the memory’s proper functioning and lead to system instability.
4. How Do I Fix My Dram Debug Led?
To fix the DRAM debug LED, ensure that the RAM is seated correctly in the motherboard slots, verify compatibility, test the memory modules individually, update the BIOS, and check for the power supply or motherboard issues that may affect memory function.
Summery:
In summary, the DRAM light on a motherboard is a crucial indicator of memory issues, helping users detect problems early. Common causes include improperly seated RAM, incompatible modules, and power supply issues. Following proper troubleshooting steps and preventive measures, users can resolve DRAM-related problems and ensure their system runs smoothly and efficiently.
Read More: